


Creative Composites - Aspire Dental Academy Part 1
Some of you have read one my posts from last year about a Composite Day with iCAD Academy. Recently I have been on another course with Aspire Dental Academy. Here is what I learnt from the day.
 |
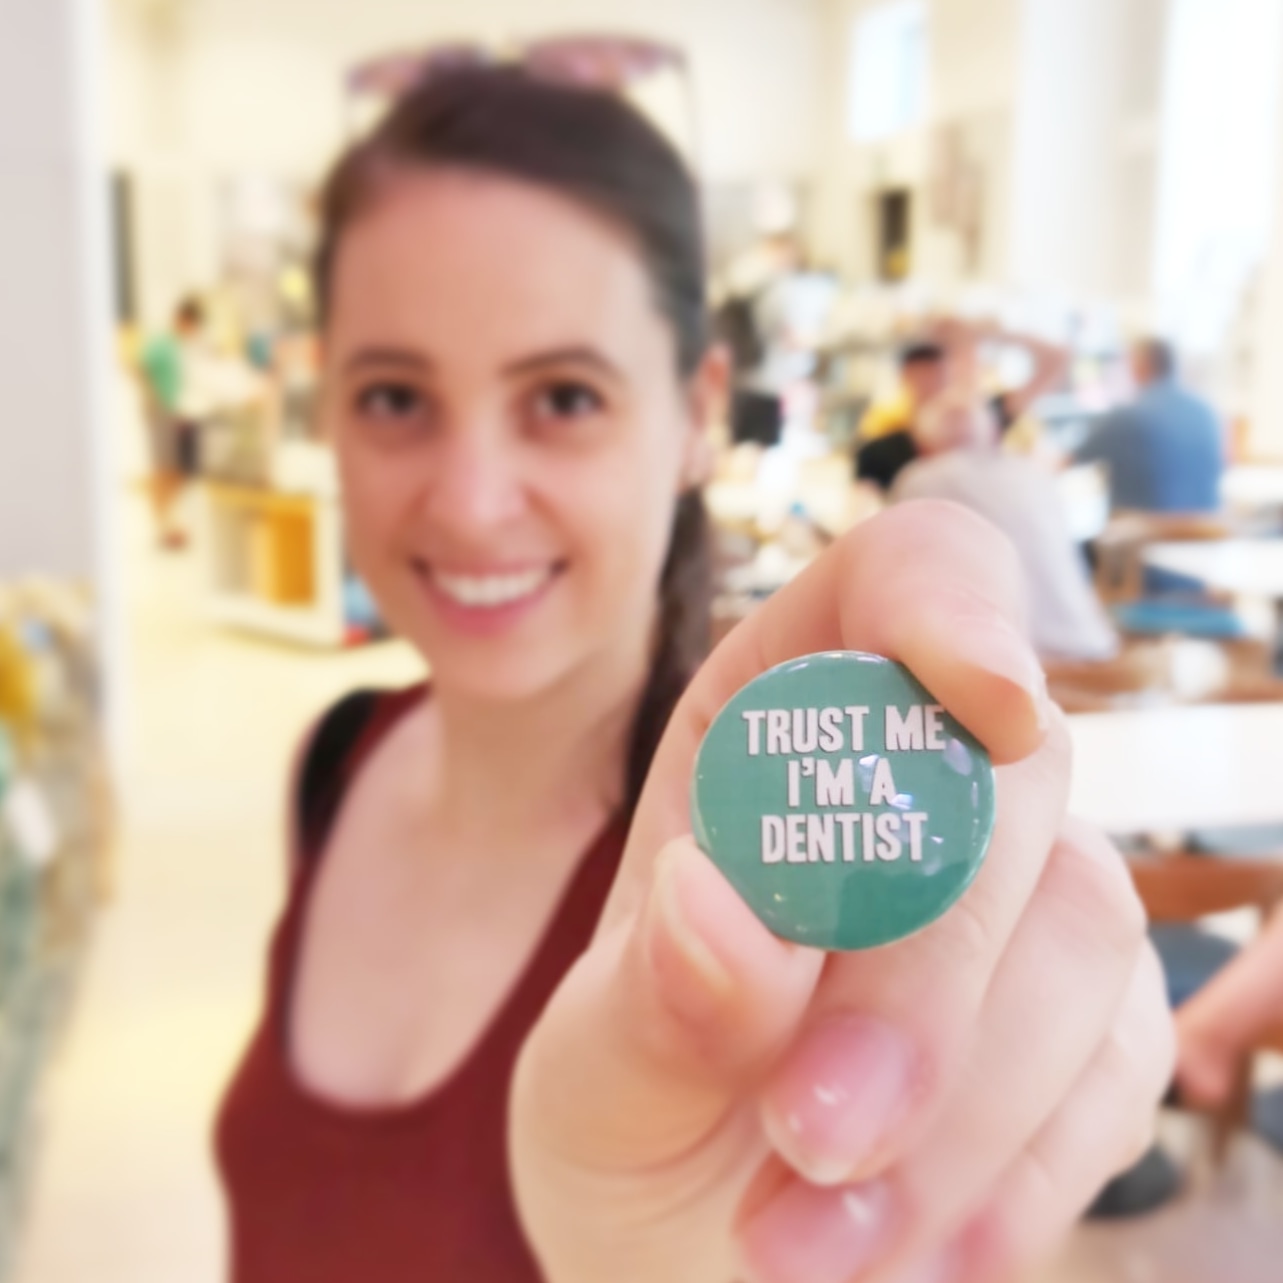
| My trial composite build up on a phantom head |
Before deciding what composite course you want to go on (and there are so many to choose from), it is important to invest in yourself by investing in tools and equipment you need, especially composite! A lot of trainees like myself only have one option when it comes to composite (and sometimes even only one shade). Invest in good quality composite for example Venus Pearl; this equipment is an asset which is a patient builder and also tax deductible!
Concepts of Smile Design
The components you should look for include:
- Face
- Lips (full, pinched, tight)
- Teeth
- Gingiva
- Relationship
Is the facial midline coincident with the dental midline? Sometimes this isn't always essential for a pleasing smile, take a look at Tom Cruise's smile for example. Was is more important is whether there is a cant i.e. if the midlines are not parallel. Test this with floss.
Lip line is determined by how mobile the upper lip is. Lip lines can be average, low, high or very high. Check this in a relaxed smile, forced smile and also when the patient is laughing.
Smile Lines can be:
- Positive
- Flat
- Reverse
Smile line is the relationship of the upper anterior teeth to the lower lip. Remember how you learnt the set up of anterior teeth when constructing dentures as an undergrad? This is what Smile Line is - with the laterals incisors being slightly shorter than the centrals (0.5mm) etc.
What is also important in smile design is incisor proportions i.e. width to length ratio e.g. for central incisors there should be 0.7-0.8 ratio.
An easy way to achieve the correct proportions is by having a trial composite try-in for build ups or even easier, ask your lab technician for a diagnostic wax-up!
Top Composite Tips
- Always take the shade before you prep the tooth or apply the rubber dam and draw a road map of characteristic features such as stains, snowflakes and halos
- Assess the tissues that you are bonding to e.g. enamel, dentine, sclerosed dentine
- Assess occlusion/parafunction/staining risks
- Achieve good isolation with rubber dam and take your time
- Bonding is best with 2 step i.e. etch, prime then bond
- Hot composite can improve it's handling properties and therefore it can be used for cementing restorations - you can buy heaters but a cheap way to do this is to use baby bottle warmer
- Do not use bond on your instruments as this will pick up staining, use a wetting agent instead
- After etching dentine, not do overdry as this will cause the collagen matrix to collapse; instead dry with the suction tip
Tips to bond to sclerotic dentine:
- Use an ultrasonic scaler to clean the surface
- Roughen with a bristle brush or pumice
- Sandblast the surface or use a rosehead bur if you don't have a sandblaster
- Etch the surface for 90 seconds
- Remove any unsupported enamel
Posterior composites:
- Pre-wedge
- Take a pre-operative occlusal check - make sure no contact points will be on the margin interface of the restoration and the tooth
- After final enamel layer of composite, apply KY jelly then cure through this. This will polymerise the oxygen-inhibited layer and therefore, reduce staining over time
How to bond composite to composite?
- Clean the surface with an ultrasonic scaler
- Sandblast the surface
- Use a Silanating agent on the surface
- Apply resin bond (not the primer!)
- Start building up with new composite
How long should I etch for?
For enamel, etch for 25 seconds
For dentine, etch for 15 seconds (longer is sclerotic)
Finishing and Polishing
Look at the anatomy of the contralateral tooth to guide you in recreating anatomy (you may need to take a photograph to refer to later on when the rubber dam is in place).
For anterior teeth, look at the tooth in it's 3 planes and polish in these 3 planes.
Primary anatomy - Adjacent tooth shape
Secondary anatomy - Grooves, transitional line angles, mammelons
Tertiary anatomy - perikymata ( to place this use a scalpel or goats hair wheel bur)
You can either draw out the tooth anatomy before you prepare the tooth to refer to, or once you've build the tooth up, draw the landmarks directly onto the tooth
Finish the polishing with increasingly finer diamond polishing paste e.g. Enamel Plus Shiny, and finally with a felt wheel, finish off with aluminium oxide paste.
Thanks to Raheel and the Aspire team - I will be going to another day with them in a few weeks so keep an eye out for part 2!
Do you have any other tips for using composites? Please leave your comments in the section below!


0 comments